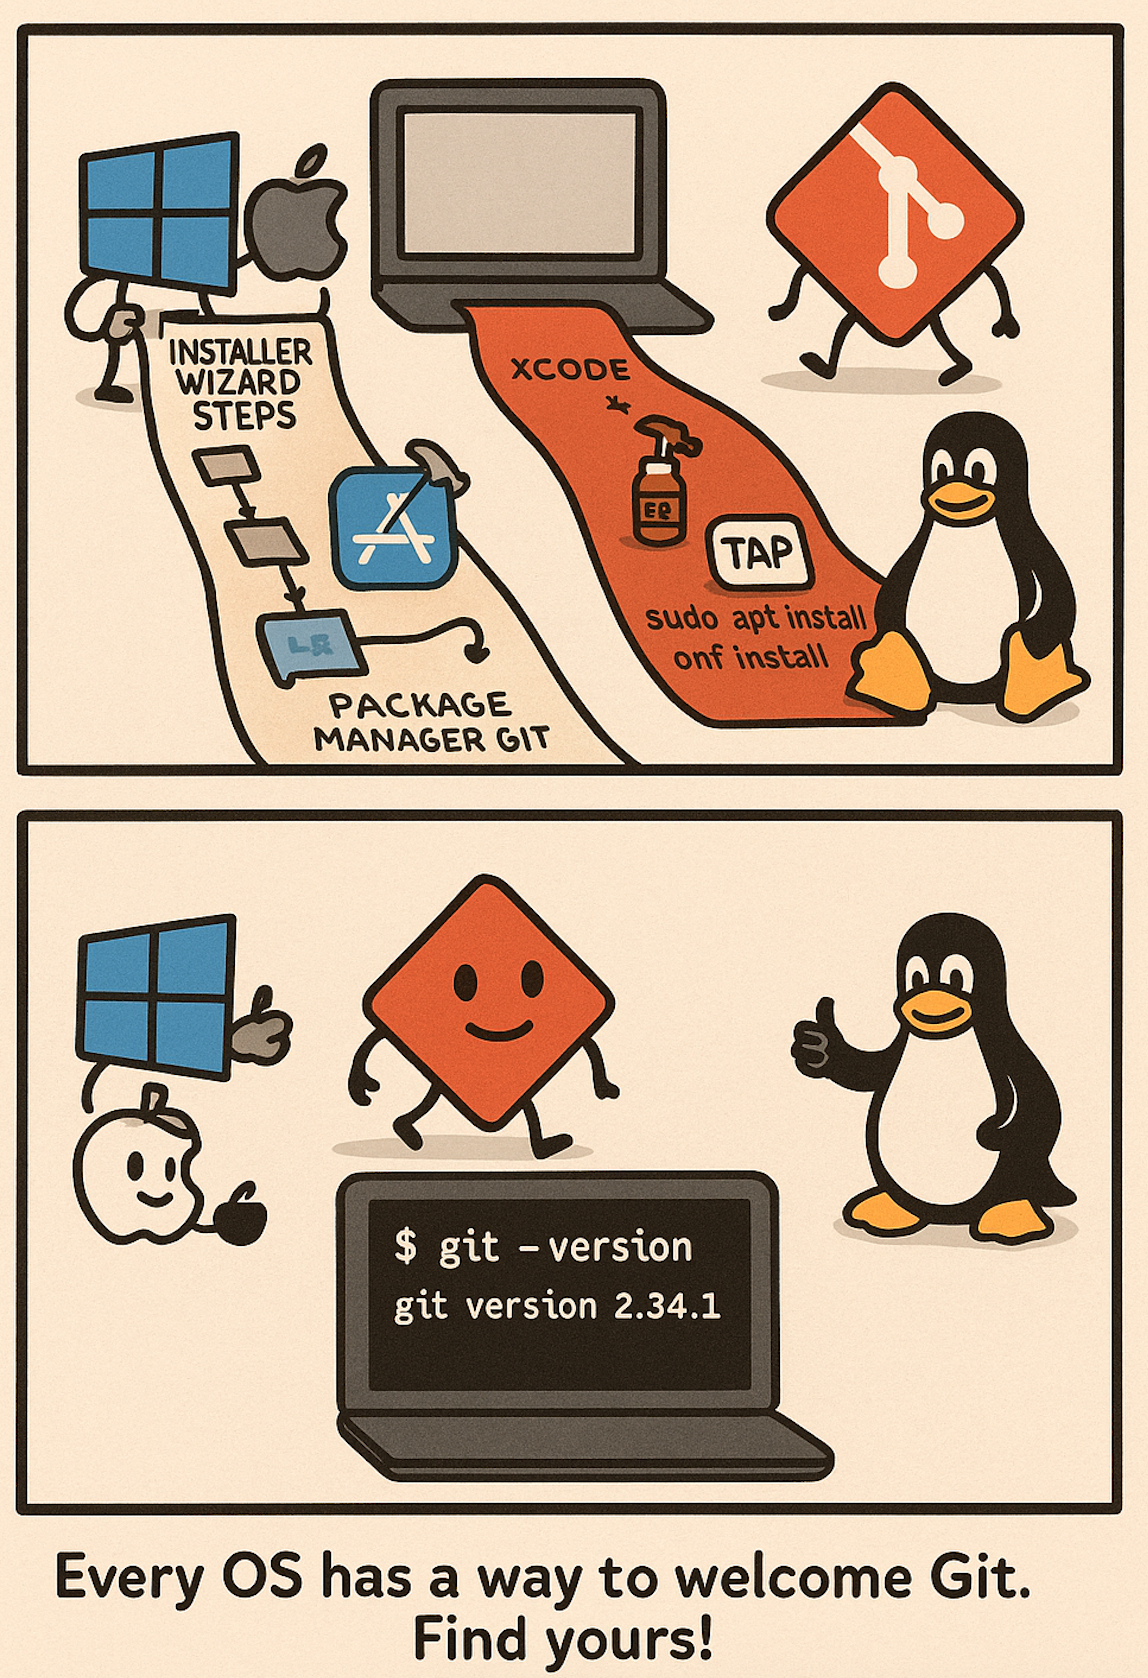
💻🔧 Installing Git #
Now that you understand what Git is and why it’s so essential, it’s time to get it installed on your computer.
Is Git Already There? #
Before you start an installation, it’s a good idea to check if Git is already on your system. This is especially common on macOS and Linux, as it’s often included with developer tools.
Open your terminal (Command Prompt or PowerShell on Windows, Terminal on macOS and Linux) and type:
git --version
If Git is already installed, you will see an output confirming this. In my machine, if I run the above command, I see something like git version 2.39.5 (Apple Git-154). Your message may vary depending on what operating system you are on and what version of Git is installed.
📥 Installation #
I won’t go through the step by step installation process here, and instead provide you broad guidelines and pointers.

🖼️ Installing Git on Windows #
Download the official installer from Git Website and run it.
Guidelines for Installation: #
- Default Editor: The installer will ask you to choose a default text editor for Git (e.g., for commit messages). If you’re not comfortable with Vim (often the default), select a familiar editor like VS Code, Sublime Text, or Notepad++ if it’s detected on your system. This can be changed later.
- PATH Environment: The recommended option is typically “Git from the command line and also from 3rd-party software.” This makes Git accessible from various terminals and tools.
- Line Endings: For Windows, the default “Checkout Windows-style, commit Unix-style line endings” (core.autocrlf true) is generally best for cross-platform projects.
- Credential Helper: Opt to install a credential helper (like Git Credential Manager). This will securely store your credentials for services like GitHub, saving you from re-typing them frequently.
- Git Bash: The installer usually includes “Git Bash,” a Bash emulation environment for Windows that provides a Unix-like command-line experience. It’s very useful for working with Git.
- Default Selections: For most other options presented during the installation, the default choices are usually sensible for new users.
After Installation: Open a new terminal (Git Bash, Command Prompt, or PowerShell) and verify with git --version.
🍏 Installing Git on macOS #
Git might already be installed if you have ever used Apple’s developer tools. If not, there are a few good options:
Xcode Command Line Tools (Easiest for many): #
- Often, simply typing
git --versionin the Terminal will prompt macOS to install the Xcode Command Line Tools if Git isn’t found. This bundle includes Git. - Alternatively, you can trigger this by running
xcode-select --install. - Consideration: This version might not always be the absolute latest Git version.
Homebrew (Recommended for developers wanting newer versions): #
- Homebrew is a popular package manager for macOS.
- Install Homebrew, then run brew install git.
- Consideration: Homebrew typically provides up-to-date Git versions and manages them well.
Official Installer: #
- Download the macOS installer directly from Git Website.
- Run the downloaded .dmg and installer package.
- Consideration: Provides a straightforward installation from the official source.
After Installation: Open a new Terminal window and verify with git --version.
🐧 Installing Git on Linux #
Use your distribution’s built-in package manager. This is the standard and recommended way to install software on Linux.
Key Pointers & Common Commands: #
-
Package Manager: Identify your distribution’s package manager (apt for Debian/Ubuntu, dnf for Fedora, yum for older RHEL/CentOS, pacman for Arch Linux, zypper for openSUSE, etc.).
-
Update First: It’s good practice to update your package list before installing:
- Debian/Ubuntu: sudo apt update
- Fedora/RHEL (dnf): sudo dnf check-update (or it updates automatically with install)
-
Installation Command:
- Debian/Ubuntu: sudo apt install git
- Fedora/RHEL (dnf): sudo dnf install git
- CentOS/RHEL (yum): sudo yum install git
- Arch Linux: sudo pacman -Syu git
- openSUSE: sudo zypper install git
If your distribution isn’t listed, consult its official documentation for the correct package name and command.
After Installation: Open a new terminal window and verify with git --version.